

My grandma came by recently and gave me several bags full of peaches from her tree. So I pulled out my dehydrator. And since only 1 person in my family has trouble eating fruit leather (my oldest son, who told me it looked funny today), that is considered successful.
Fruit leather, or fruit roll-ups, are actually very easy to make. I have a dehydrator that I bought expressly for this purpose, but you can actually make it in your oven. Almost any kind of fruit will work (although citrus have a little too much liquid, so they can only be used when they are added to other types of fruit).

This is my dehydrator. It's a Nesco with an adjustable thermostat. I love it.
2. Remove the pit and place the rest of the peach into a blender. Continue until you have enough peaches to fill the layer of dehydrator or cookie sheet.
3. Add 1 tablespoon of lemon juice per cup of fruit. This will prevent the fruit from turning brown. You could also use a fruit preserving powder, such as Fruit Fresh. Blend together until the peaches are the same texture throughout.
4. Pour 2 cups of fruit onto a dehydrator tray, or until the fruit is 1/4 to 1/2 inch thick. (As it dries, it will thin out.) Repeat with any other trays you have. If you are using an oven, or you don't have fruit leather trays for your dehydrator, line a cookie sheet or normal trays with wax paper and pour on fruit.

These are the fruit roll-up trays that came with my dehydrator. You can buy them separately if yours doesn't have them, or just use wax paper to line the trays or your cookie sheet.
4. Turn the dehydrator or oven to 135 degrees Fahrenheit. If your oven doesn't go that low, I have even heard of people propping open the oven door (just make sure you do it safely!) or moving their car into a sunny spot and simply putting the cookie trays in the hot car! It really is that fool-proof!
5. Now you get to wait. It takes my fruit about 12 hours to dry, but you should keep an eye on your fruit leather to make sure that it isn't getting too brittle. You want it to still have some give to it to be really yummy. I start it in the morning, then take it out in the evening.

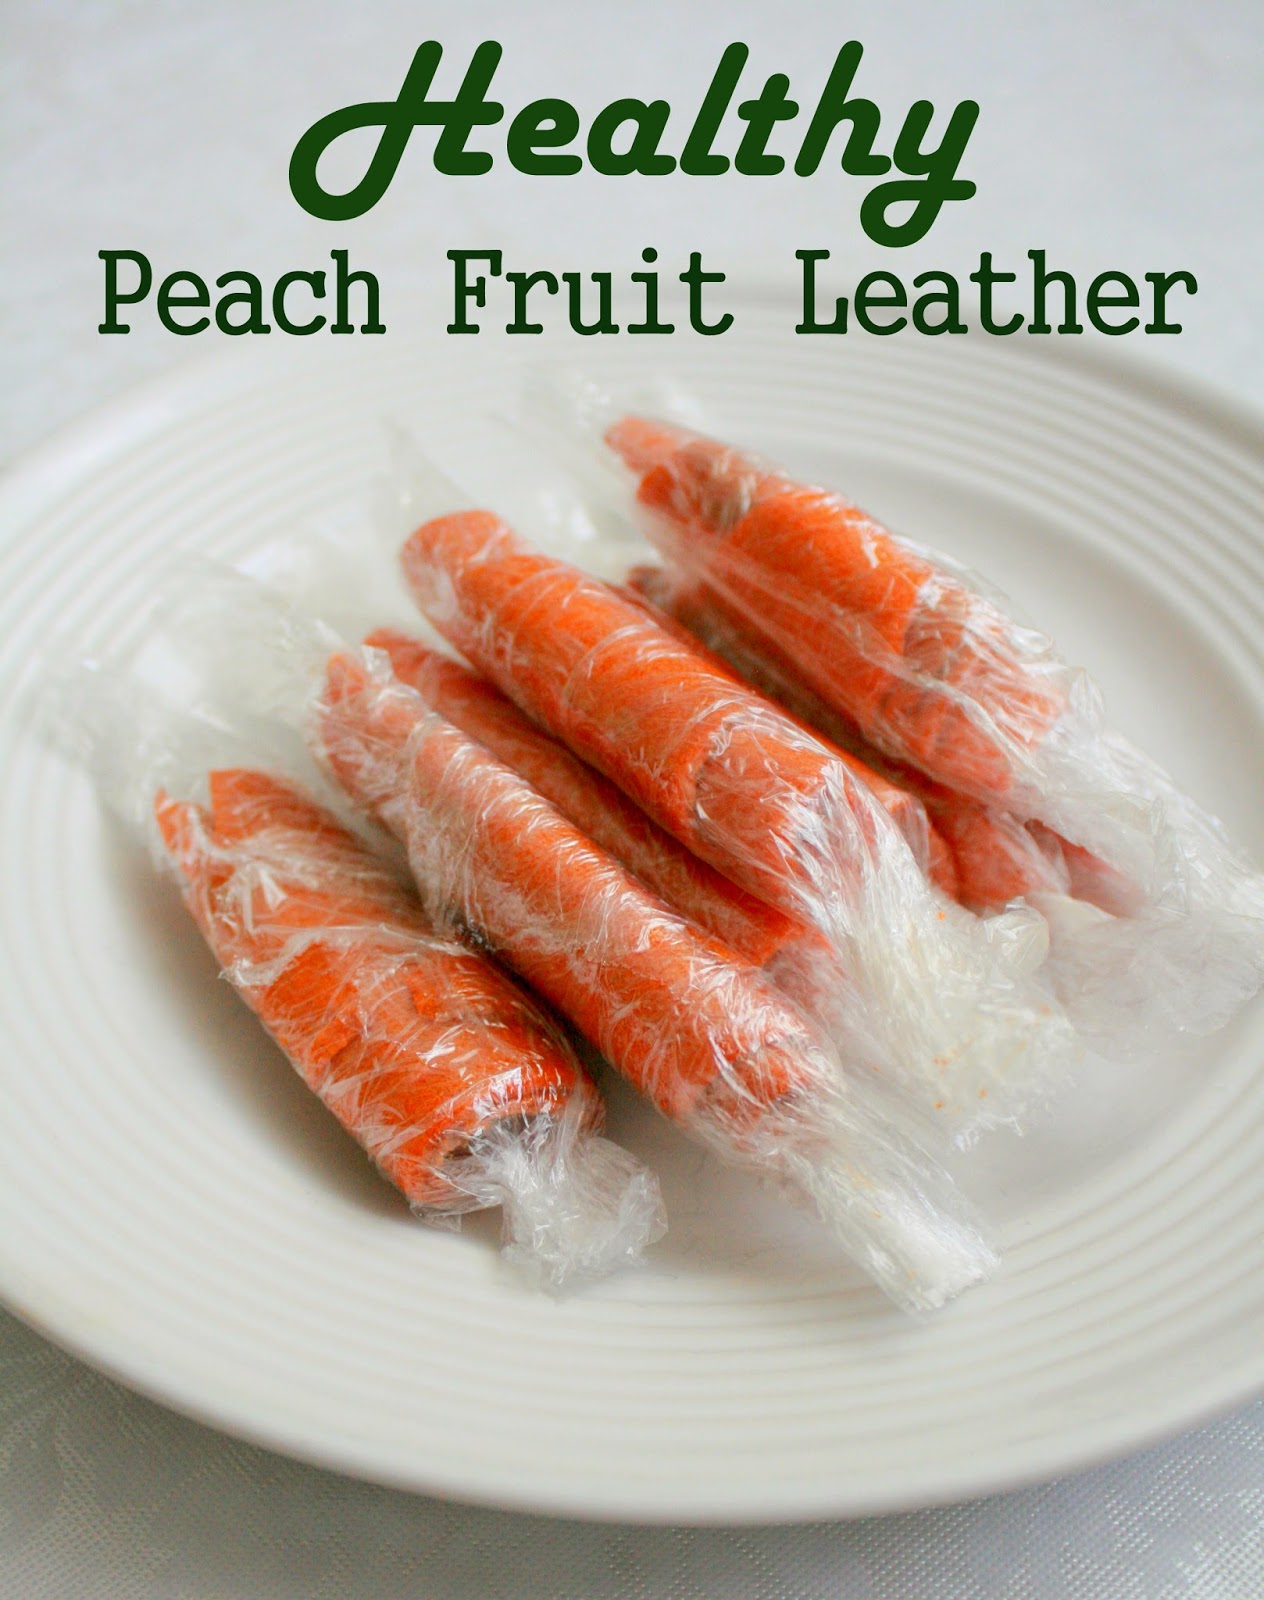
7. Roll up in plastic wrap or wax paper. Store in air-tight container in the refrigerator (remember, yours aren't sealed like the kind you get at the store, so more precaution has to be taken with storing). I've had them last a year in the fridge.

There you have it! Completed cute roll-ups! Easy as can be.


Yum! I love this idea! I've never made homemade fruit leather, but it looks delicious!
ReplyDeleteAren't kitchen gadgets fun? Peach roll-ups sound great!
ReplyDeleteMireya @myhealthyeatinghabits